Master Transitions In Vlog Editing
Transitions are a small but mighty detail in vlogs that really help keep things flowing and interesting. When I first started editing vlogs, I quickly noticed how a smooth or clever transition could hold a viewer’s attention just a bit longer. Learning the basics and knowing when to use different types of transitions takes your edits from just plain clips stitched together to a polished video that feels intentional and engaging.
Why Transitions Matter in Vlog Editing
Transitions play a much bigger role in vlogs than just hiding a cut or changing a scene. They affect how your story feels, how viewers experience time inside your vlog, and even add to the overall mood. Even subtle transitions can give your video a sense of rhythm that matches your voice and creative style.
For those new to vlogging, transitions might seem like quick fixes for awkward pauses or jumps. That’s part of it, but there’s a lot more to it. The right transition can highlight a dramatic moment, move your audience to a new location, or step up a joke. Vlogs are all about personality, so picking transitions that fit your vibe makes your videos feel more like you.
While some editors use eye-catching transitions just because they look next-level cool, using them thoughtfully is what really takes your editing game up a notch. A well-placed transition can even boost how long people watch, which matters if you’re trying to grow your channel.
Get Started: Basic Transition Types
I remember when I first opened my editing software and saw way more transitions than I ever knew I needed—fade, cut, dissolve, whip, slide, and a bunch more with strange names. While it’s tempting to try them all at once, sticking to a few core types when you jump in helps keep things clear and clean.
- Cut: The simplest and most used. This is just placing one shot right after the other. It’s perfect for keeping things quick and feels most real to how our eyes naturally notice changes.
- Fade In/Fade Out: Slowly bringing footage in from black (or out to black) is classic for starting or ending sequences. I use this a lot to open or close a vlog or to mark a passage of time.
- Dissolve (Crossfade): Two shots blend into each other. This feels softer and is great for montages or mood changes.
- Wipe: One shot pushes the other off screen. Some classic films made these popular, but in vlogs I use wipes sparingly, maybe for a playful scene change.
- Slide and Push: The new scene slides or pushes the old off screen in a direction. These can make it feel like you’re flipping through something, but it’s easy to overdo these.
I always recommend starting with cuts, dissolves, and fades before using the more dynamic transitions. As you get comfortable, you can mix in fancier stuff for extra energy or dramatic effect.
Quick Steps for Smoother Transitions
Even simple transitions need a bit of finesse. When I edit, there are a few practical steps I go through to make sure everything feels smooth:
- Plan shots while filming: Think ahead to your transition. Leaving a bit of extra footage before and after your main action gives you more to work with. This helps a ton if you want to do match cuts or seamless moves later.
- Line up your timeline: Stack your clips tight, trim any dead space, and preview the cut. Just cutting a second or two of awkward pause before a punchline can make a major difference.
- Test basic transitions: Drag and drop a fade or dissolve in your editor, but adjust the speed. Quick transitions often keep things feeling punchy, but for emotional vlogs, slower fades might work better.
- Use sound: Layering a whoosh or music change over a transition can hide rough spots and make the change feel intentional.
- Match action or motion: If you’re walking out of frame in one shot and entering from the same side in another, a quick cut can make things look seamlessly continuous.
Combining these tricks really boosts the natural flow of your vlog and keeps viewers tuned in. One more tip is to always watch your edit from start to finish after making changes; you may spot areas where a transition might be too rushed or not needed at all. Learning to trust your eye comes with experience, but actively watching for these moments helps you grow faster as an editor.
What to Consider Before You Start Adding Every Fancy Transition
It’s so easy to get caught up in adding every flashy effect you can find, but I learned (sometimes the hard way) that it’s better to make every choice on purpose. Here’s what I keep in mind before grabbing a bunch of effects:
- Keep it consistent: Random transition styles can be a little distracting or even confusing. I pick 2-3 styles for a single video, so everything feels like it fits together.
- Think about your story: A comedy vlog might fit with quirky wipes or bouncy slides, but a travel montage often feels better with fades and dissolves that match a chill vibe.
- Beware of overuse: Too many transitions can actually make viewers dizzy. If every cut is a spin or fly-in, nothing stands out. Save the wow stuff for big moments.
- Relate transitions to music: I like to time certain transitions with the beat or changes in my soundtrack. This can make your vlog feel even more professional—almost like a music video sometimes!
- Check for technical glitches: Sometimes, certain transitions don’t work with all footage, especially if lighting changes quickly. Always play back your edits. If anything looks off, a simple cut might actually look better.
Keep It Simple
One of the best pieces of advice I got was “when in doubt, cut it out.” Too many wild transitions can actually make good footage look less polished. A simple straight cut, when timed well, often does the trick. As your editing style develops, you’ll naturally find when to toss in something extra.
Remember Viewer Expectations
If someone is watching your travel vlog, they probably expect beautiful scenery and some calm pacing, so harsh, superfast transitions might feel a bit odd. Tailor your editing style to your audience and the vibe of your content. Watching other successful vlogs in your genre can give ideas about transitions that work well without being distracting.
Level Up with Eye-Catching Transition Techniques for More Advanced Edits
Once you’re comfortable with basic transitions, there are a bunch of techniques worth trying that really give a boost to your vlogs. These take more effort but are fun to experiment with and make your edits stand out.
- Match Cuts: This is when two shots are linked by a similar action or shape. For example, tossing a ball in one location and catching it in the next. It takes practice, but match cuts can look seamless and super satisfying for your viewers.
- Whip Pan: Rapidly moving the camera in one direction at the end of a shot, then starting the next shot with the same motion. Adding a blur during the pan in editing makes this even smoother. You can use this for quick jumps across spaces or time.
- Speed Ramping: Changing the speed of your footage to ramp up or down. You might slow down just before a transition for drama, or speed up to jump ahead to the next scene. This adds energy and can help with pacing awkward transitions.
- Masking Transitions: Advanced editors will use mask effects to hide the cut behind a moving object or character, such as passing behind a wall. This takes some patience to learn but gives your vlogs a pro-level touch, making cuts appear completely seamless.
- Using Ambient Details: A passing car, swinging door, or change in lighting are all things you can build a transition around. Look for opportunities in your footage for clever cuts. Sometimes, just matching movement between shots can pull the viewer right along.
Trying out these techniques isn’t just about showing off editing skills. It’s about keeping things fresh and matching the energy or mood of your vlog. I find viewers stick around longer when something unexpected but well-done pops up now and then. The more you mix in some variety, the more likely your audience is to stay engaged.
Best Tools and Plugins for Smoother Transitions
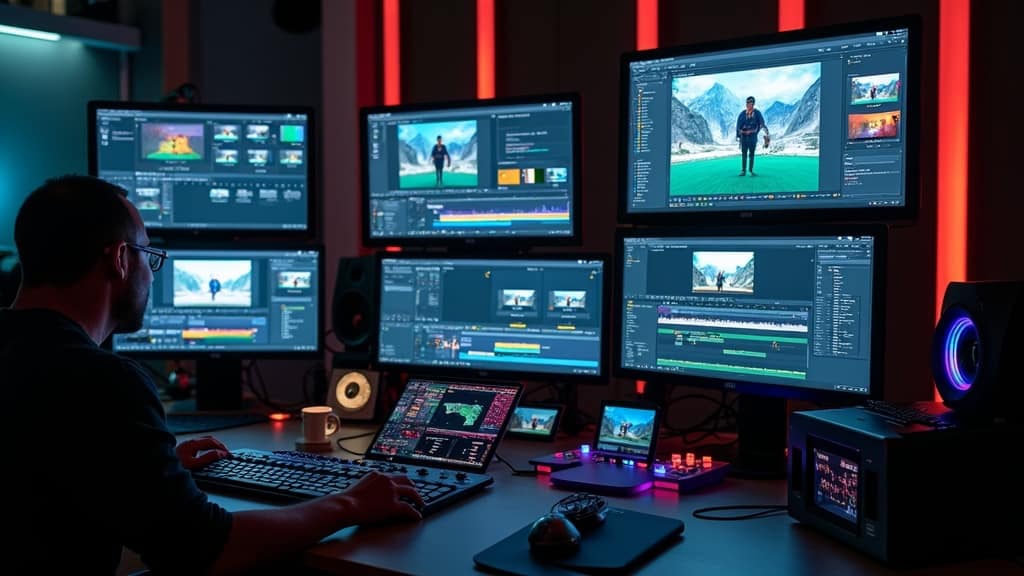
The right editing software makes all the difference. Here are some options I reach for:
- DaVinci Resolve: The free version is packed with transitions and easy to use. Great for beginners looking to learn fast, and it’s updated regularly with cool new effects.
- Adobe Premiere Pro: Tons of built-in transitions, plus third-party packs that expand your creative possibilities.
- Final Cut Pro: Mac users get intuitive tools for custom transitions; very handy for those who want quick but unique edits. Plus, there are lots of plugins to help you find your own style.
- Mobile options: LumaFusion (iOS) and KineMaster (Android/iOS) both come loaded with solid transition libraries for editing right on your phone.
Plenty of third-party plugins are available for all these platforms. Marketplaces like Motion Array and Envato Elements are packed with transition packs that you can drag and drop into your projects to save editing time and find new inspiration. You’ll also find tons of free presets from creators on YouTube and other online communities ready for download.
If you’re just getting started, it can also help to watch tutorials, many of which come with downloadable project files. Practicing with these can really speed things up as you tweak and experiment before settling on your personal favorites.
Frequently Asked Questions
Here are a few things people ask me about transitions when they’re just starting out with vlog editing:
Question: What are the easiest transitions to use for beginners?
Answer: Stick with simple cuts and fades. These always work and are the backbone of most vlogs. As you get more confident, try dissolves or a basic slide.
Question: How do I make sure my transitions look smooth and not awkward?
Answer: Trim your clips carefully and preview your edits. Transition timing matters; a short, snappy cut usually beats a slow, drawn-out effect for fast-paced scenes. Use music and sound to polish rough patches.
Question: Are there free resources or plugins for transitions?
Answer: Absolutely! DaVinci Resolve is free and includes a lot of transitions. For plugins, Motion Array offers a free plan with solid packs. Searching “free video transitions” on YouTube will also turn up some great downloadable options for any software.
Question: How can I make my transitions match my vlog style?
Answer: It all comes down to your content and your personal approach. If your vlog is chill, use subtle fades and cross dissolves. If you’re shooting energetic, fast-paced content, try quick cuts or energetic slides. Watching creators with a style similar to yours can inspire new ways to include transitions that blend in naturally.
Final Thoughts
Transitions really make a difference in how polished and enjoyable your vlog feels. Finding that sweet spot between simplicity and style will help you build a unique editing approach. Start with the basics, try out advanced techniques as you get comfortable, and always watch your edits through from start to finish to make sure they flow.
With regular practice, you’ll develop a signature style that viewers recognize and come back for again and again. The road to eye-catching, seamless vlogs takes time—but it’s worth it for the boost in viewer engagement and satisfaction you’ll get along the way.
best vlogging editing software on amazon
