
The Vlogging Gear Worth Buying Once Your Phone Isn’t Enough
Advanced vlogging equipment for growing channels
Your phone shot your first fifty videos just fine. Somewhere around video sixty, something started bugging you that no filter or caption could fix: maybe it’s the hiss under your voice when you’re outside, maybe it’s footage that looks flat and gray no matter the time of day, maybe it’s the slight wobble that makes every walking shot look like it was filmed during an earthquake. That feeling, the one where your content has outgrown your tools, is the actual signal to upgrade. Not a number on a spec sheet.
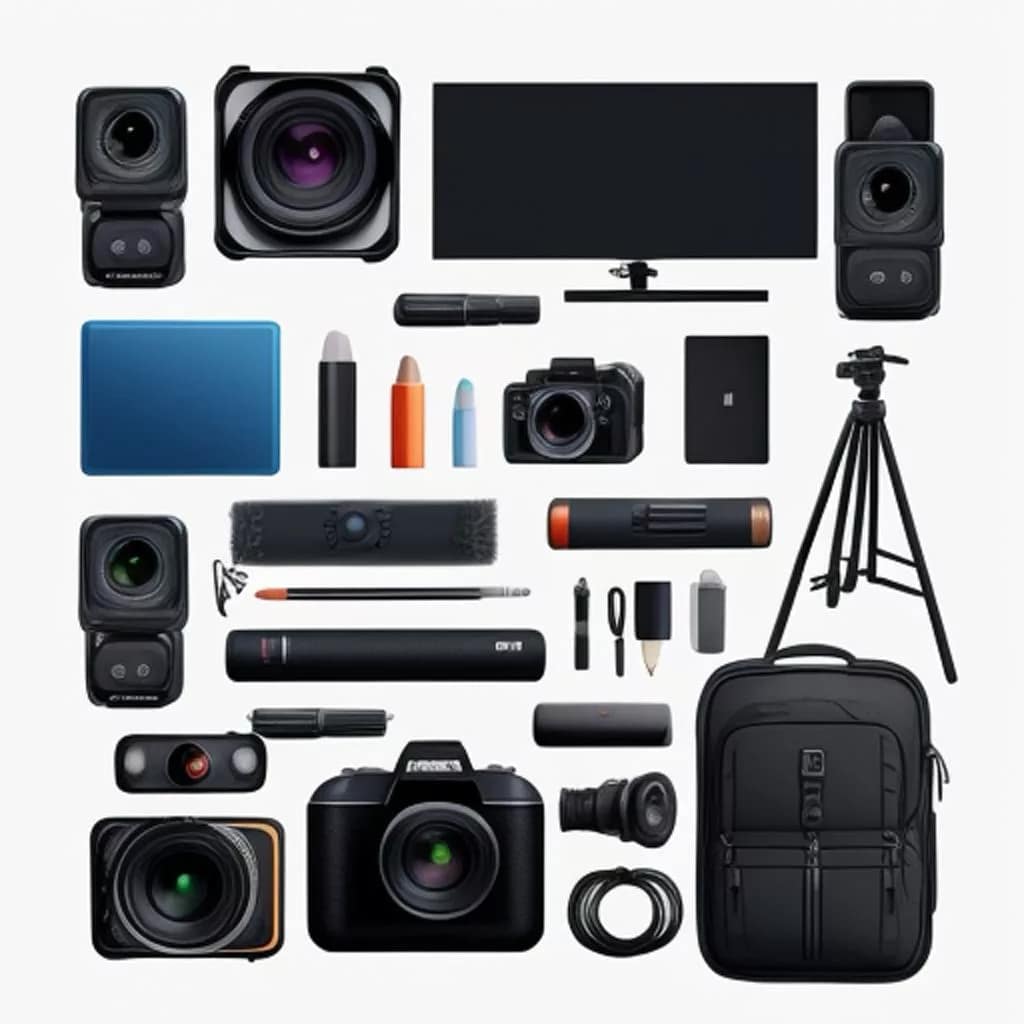
This guide is built around that signal. It walks through advanced vlogging equipment for growing channels in the order that actually earns its cost, so you spend money where it fixes a real problem first, instead of buying a camera that makes your audio problem look even more obvious.
The real sign you’ve outgrown your phone (hint: it’s not the camera)

Most vloggers assume the upgrade path starts with a better camera because that’s the gear everyone talks about. But watch any video where the picture is mediocre and the sound is great, and you’ll stay. Watch one where the picture is gorgeous and the audio is muffled or echoey, and you’ll click away within ten seconds. Viewers forgive soft footage. They do not forgive audio they have to strain to hear.
So the real sign you’ve outgrown your phone isn’t “my 4K doesn’t look cinematic enough.” It’s one of these:
- You’re filming outdoors or in rooms with hard surfaces, and wind or echo is competing with your voice.
- Your lighting is inconsistent between shots, so edits look choppy even when the content is good.
- You’re filming handheld walk-and-talks and the shake is distracting instead of stylistic.
- Your phone’s low-light footage turns to mush the moment the sun goes down.
Notice that only one of those four is remotely camera-related, and even that one is really a lighting problem wearing a camera costume. That’s the order this guide follows: audio, then light, then camera, then stabilization. Buy in that sequence and every purchase makes the one before it look better instead of competing with it.
Audio gear first? Why a decent mic beats a better camera every time
A $50 microphone paired with your existing phone will outperform a $2,000 camera paired with your phone’s built-in mic, every single time. That’s not an exaggeration, it’s just how viewers process video. Bad audio reads as “amateur” instantly. Soft video reads as “stylistic choice.”

For most growing vloggers, there are three realistic options:
- A shotgun mic that mounts on top of your camera or phone rig, good for anyone recording in one general direction, like a desk setup or a tripod-based talking segment.
- A wireless lavalier system, which clips to your shirt and is the better choice for walk-and-talk vlogging, errands, travel, or anything where you’re moving and talking at the same time.
- An on-camera mic with a built-in windscreen, useful if you’re often outside and need something simple that doesn’t require pairing or charging separate transmitters.
If you only buy one thing from this entire article, make it a wireless lavalier. It solves the single biggest quality gap between phone-only creators and everyone else, and it works whether you’re still shooting on your phone or you’ve already moved to a dedicated camera. Audio is also the piece of gear that ages the slowest. A good mic from several years ago still sounds good today, while cameras and lighting trends shift more often.
Lighting that fixes 90 percent of “why does my footage look amateur“
Once your audio is solid, the next complaint people have about their own footage is almost always lighting, even when they describe it as a camera problem. “My footage looks flat.” “It looks grainy at night.” “‘” Ninety percent of that is light, not sensor quality.
You don’t need a full studio setup. For a growing vlogger, three categories cover almost every situation:
- A small LED panel with adjustable brightness and color temperature, useful for desk setups, talking-head intros, or indoor B-roll.
- A clip-on or mountable light for your camera rig, which travels with you for on-the-go filming when the room or location doesn’t have good natural light.
- A ring light, genuinely useful for close-up talking segments, but easy to overuse to the point where every shot looks the same.
The goal with lighting isn’t to make your footage look lit. It’s to make it look like the room just happens to have good light. Consistency matters more than intensity: the same light setup used the same way across a video keeps your edits from feeling jumpy between shots, which matters even more once you start layering in the kind of cut-heavy editing style covered in How To Edit Vlogs Professionally With Free Tools.
Cameras? When a mirrorless or dedicated vlogging camera actually pays off
Here’s the uncomfortable truth: most vloggers buy a camera before they need one, and then wonder why their videos still look like phone videos, just more expensive phone videos. A camera upgrade only pays off once your audio and lighting are already handled, because a better sensor can’t fix a hissy clip or a dim room. It can only make a well-lit, well-recorded clip look sharper and more flattering.
A camera upgrade earns its cost when you hit one of these:

- You’re regularly shooting in low light and your phone’s footage turns grainy or smeary.
- You want a shallow depth of field, that blurred-background look, which phones fake digitally but a real camera produces optically.
- You’re doing enough filming that battery life, overheating, or storage limits on your phone are actually slowing down your workflow.
- You want interchangeable lenses for different shot types, wide vlogging lens versus a tighter portrait lens for interviews.
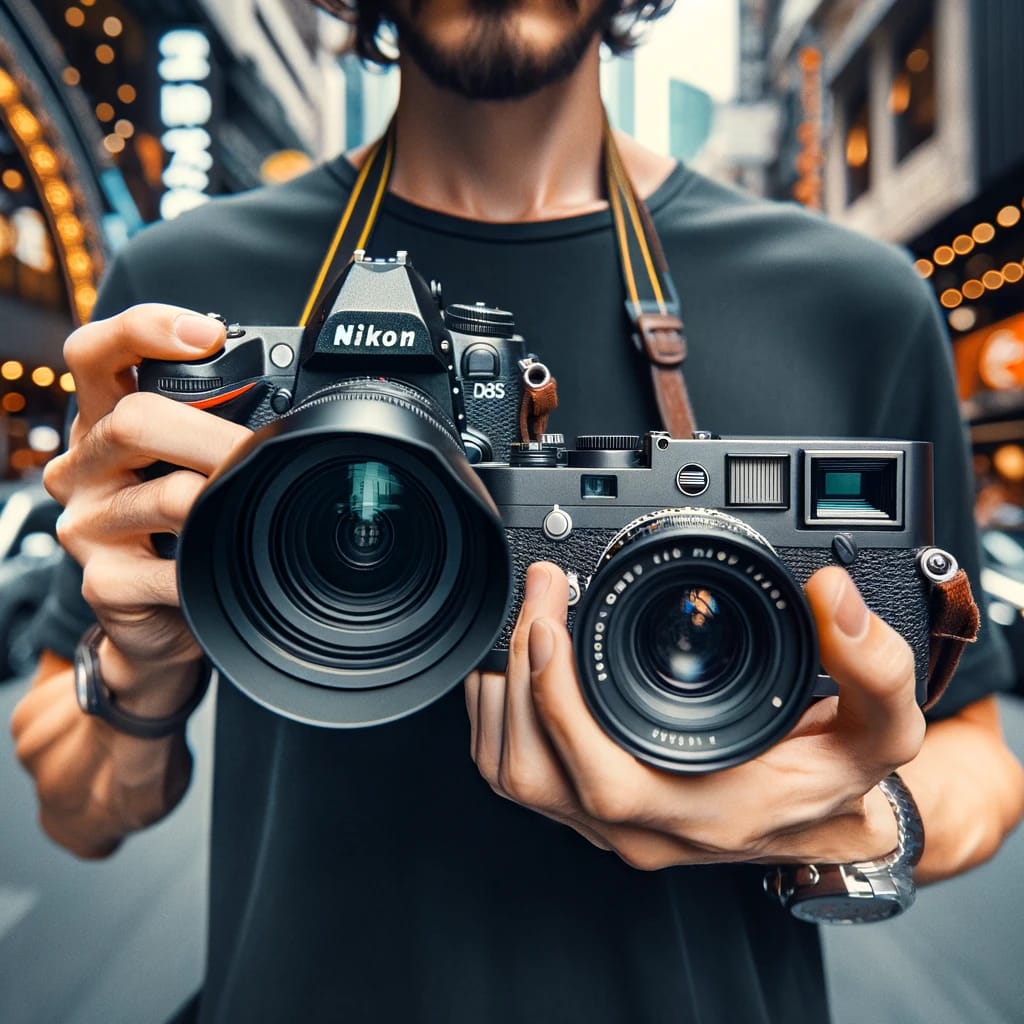
If none of those apply yet, a camera purchase right now is mostly ego, not strategy. When you do get there, the two realistic paths are a dedicated vlogging camera, which is built specifically for flip-out screens and autofocus tuned for talking-to-camera footage, or an entry-level mirrorless camera, which costs more but gives you room to grow into better lenses later. Specific models shift often enough, with new releases and price changes, that it’s worth comparing real options rather than locking into a recommendation made months ago. That comparison work is exactly what the affiliate-linked reviews on this site are for: real specs, real price points, side by side.
Stabilization without a gimbal addiction with tripods, rigs, and knowing which you need
Gimbals get sold as the thing every vlogger needs immediately, mostly because they look impressive in action. But a surprising number of growing channels buy a gimbal before they buy a tripod, which is backwards. A tripod solves more problems for less money and less setup time.

Think about it by shot type instead of by gear hype:
- Sitting and talking to camera: a basic tripod or desk mount is all you need. A gimbal does nothing for you here.
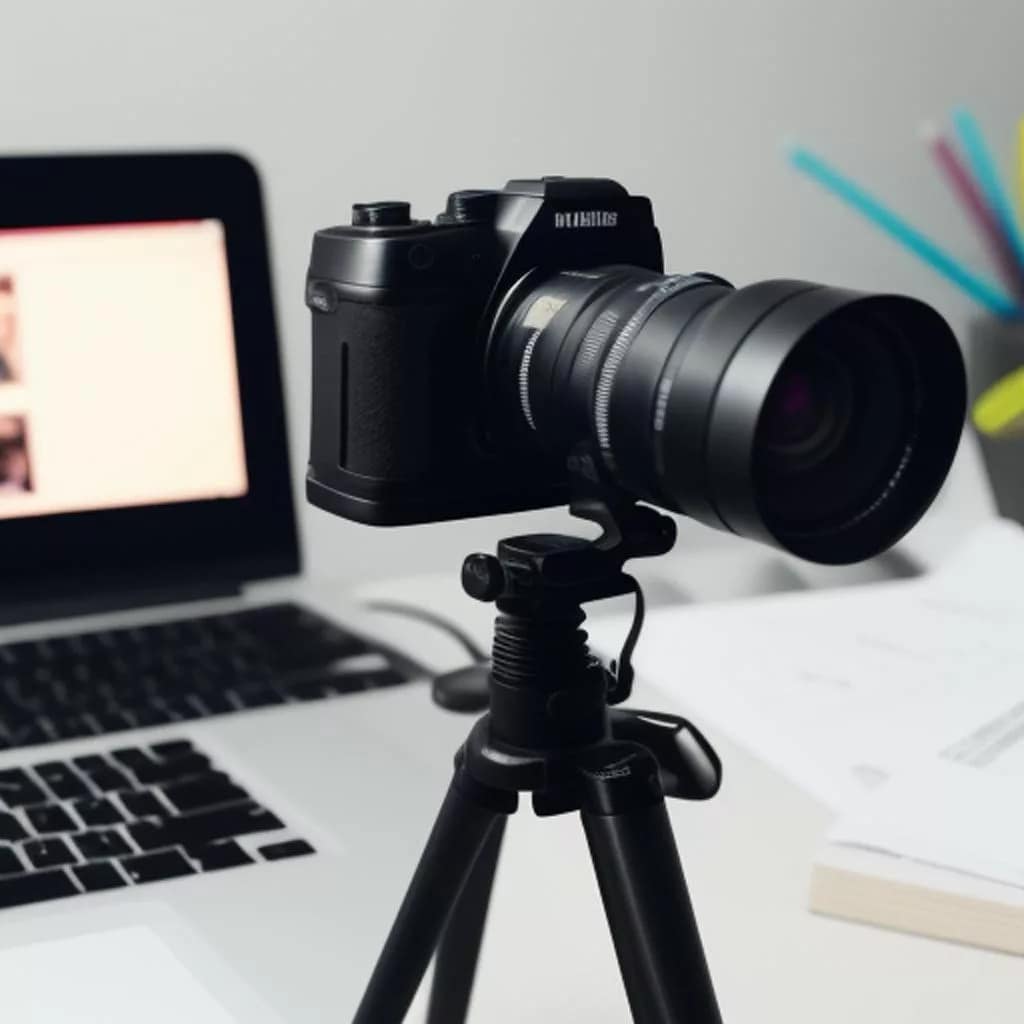
- Standing and talking to camera, minimal movement: a tripod with a phone or camera mount still wins, maybe paired with a small tabletop tripod for flexibility.
- Walking while talking: this is where stabilization actually matters, and a gimbal, or even a simpler handheld stabilizing grip, earns its cost.
- Fast movement, action, or sports-style vlogging: a gimbal or a body-mounted stabilizer becomes worth the investment.
The honest version of this section is that most vloggers spend more time sitting at a desk or standing in one spot than they do walking and filming simultaneously. If that’s you, a solid tripod with a phone or camera mount will solve more of your actual filming than a gimbal ever will. Save the gimbal purchase for when your content specifically calls for movement, not because it looked cool in someone else’s gear haul video.
Build the kit in three stages instead of one big purchase
Buying everything at once doesn’t just cost more up front, it also means you’re guessing at what you need before you’ve felt the actual gap in your footage. A staged approach lets each purchase respond to a real problem you’ve already run into.
Stage one. A wireless lavalier mic, or a simple shotgun mic if you’re mostly stationary, plus one small LED light. This pair alone fixes the two biggest quality complaints viewers have about growing channels, and it costs a fraction of a camera.
Stage two. A basic tripod with a solid phone or camera mount, plus, if your lighting situations vary a lot, a second light or a reflector. At this stage you’re still shooting on your phone, but your phone footage now looks noticeably more polished than it did in stage one.
Stage three. The camera itself, dedicated vlogging camera or entry-level mirrorless, chosen based on which specific limitation you’ve actually hit, not which one has the best marketing. If your content has started to call for movement, this is also when a gimbal or stabilizing grip makes sense.
Spacing purchases this way also means you’re not sitting on expensive gear you’re not using yet. A camera bought in stage one, before your audio and lighting were solid, usually ends up as the most expensive way to produce footage that still looks amateur.
Gear that looks professional but wastes money for most growing vloggers
Not everything that shows up in a “pro vlogger setup” video is actually earning its place in that setup. A few things worth skipping, or at least delaying, until you have a specific reason:
- A second or third camera angle setup, before you’ve nailed one angle well.
- A full field monitor, which is genuinely useful for complex multi-camera shoots but overkill for a single-camera talking-head channel.
- Studio-grade lighting kits with multiple softboxes, when one or two lights handle almost every situation a growing vlogger actually films in.
- Top-tier gimbals with motorized tracking features, when most walking shots just need basic stabilization, not subject-tracking automation.
- A second gimbal or stabilizer “for backup,” before the first one has actually limited you in any way.
The pattern in all of these is the same: they’re built for filming situations most growing channels don’t have yet, like multi-camera interview setups or complex tracking shots. If your content doesn’t currently require that complexity, the gear won’t add quality, it’ll just add cost and a drawer full of things you charge once a year.
Pair your new gear with the right editing workflow
New gear changes what your footage looks like, but it also changes how you need to edit it. Cleaner audio from a lavalier mic needs different leveling than phone audio. Camera footage, especially from a mirrorless body, often comes in flatter and needs color correction that phone footage doesn’t require. If your editing workflow hasn’t caught up to your new gear, you can end up with better raw footage and a worse finished video. How To Edit Vlogs Professionally With Free Tools walks through adjusting your workflow so the upgrade actually shows up in what viewers see, not just in what you spent.
Every channel’s gap looks a little different, which is why a generic shopping list only gets you so far. Members get access to a personalized gear-tier checklist that maps your current setup against where you actually are in this staged upgrade path, so you know exactly what to buy next instead of guessing. And when you’re ready to compare actual models, specific camera, mic, and light picks are covered through affiliate-linked reviews on this site, so you can weigh real options side by side before you spend a cent.
best vlogging editing software on amazon
best vlogging microphone on amazon
Best vlogging tripod on Amazon
Best vlogger cameras on Amazon