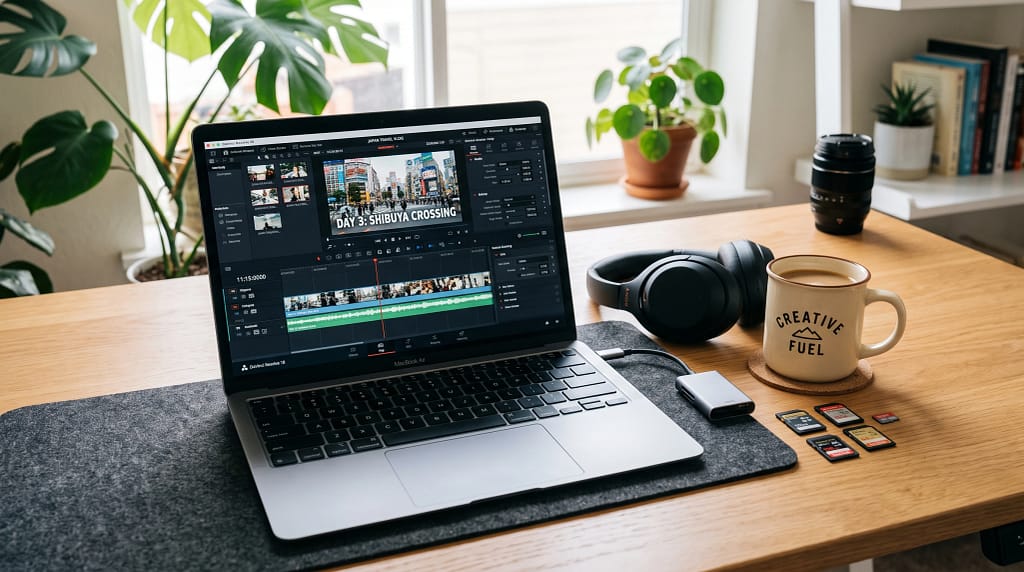
How To Edit Vlogs Professionally With Free Tools
Editing vlogs can make or break the viewer’s experience. Even if your footage is amazing, choppy cuts, messy audio, or confusing scenes can really throw people off. The thing is, you don’t need expensive software to get professionallooking results. There are plenty of free tools out there that are surprisingly powerful and userfriendly.
If you’re feeling overwhelmed by all the options, you’re not alone. I remember trying out a bunch of free editors before finding a few that fit my workflow. Learning the basics of editing can really help your videos pop, whether you’re sharing your day, a travel adventure, or a tutorial.
This guide gets into how to edit vlogs professionally without spending a dime. I’ll go through the entire process step by step, recommend free tools, and share some practical tips I’ve picked up along the way. Whether you’re new to editing or want to polish your skills, keep reading for key advice that will help you pull off a nextlevel cool vlog with free resources.
Step 1: Choose the Right Free Video Editing Software
Picking the best free video editor sets the stage for an easier editing process. Some editors work straight in your browser, while others run on your laptop or desktop. Here are a few that are worth checking out:
- DaVinci Resolve. Pretty advanced for a free tool. It’s powerful for both basic and complex edits, but it helps to have a decent computer.
- CapCut. Great for quick edits and social videos. There’s an app and a desktop version, so it’s pretty flexible.
- HitFilm Free. Solid if you want to try a few visual effects.
- Lightworks Free. Good for fast work and easy exports, especially if you’re just starting.
- Clipchamp. Microsoft’s browserbased editor, super intuitive for beginners, and works right in your web browser.
Trying out a couple helps you figure out which one feels right. If your computer isn’t super powerful, browserbased editors like CapCut or Clipchamp can speed things up.
What Features Should You Look For?
- Easy timeline and draganddrop interface
- Basic trimming, cutting, and splitting tools
- Audio editing options
- Support for at least 1080p exports (HD)
- Library of transitions and effects (even simple ones)
Also, look for regular updates and an active support community, as these can really help when you hit a tough spot in your editing adventures. A software with plenty of tutorials available can speed up your learning and boost your confidence.
Step 2: Organize Your Footage Before Editing
One thing I learned the hard way: messy files slow everything down. Before even opening your editor, sort your clips into folders on your computer. Naming them by date or scene really helps. Starting organized makes you much more efficient during the editing process, so set aside a couple of minutes before each project.
Quick Tips for Staying Organized:
- Create folders for Video Clips, Music, Sound Effects, and Graphics/Thumbnails
- Rename your clips; something like “Day1_Park_Scene1.mp4” makes editing smoother
- Collect your favorite transitions or sound effects in a folder for quick access
Having everything ready to go means less back and forth, so you spend more time editing and less time hunting for files. If you can, back up your raw footage for safety, especially if you’re working on bigger projects or collaborating with friends.
Step 3: Craft the Storyline With Clean Edits
Professional vlogs aren’t just about fancy effects; they tell a story that’s easy to follow. I like to start by dropping my best footage onto the timeline and removing anything with mistakes or bad audio. Then, I organize clips in a way that makes sense for viewers and keeps things flowing smoothly from start to finish.
- Start with a strong hook. Opening shots should grab attention fast.
- Trim out awkward pauses, long silences, or shaky footage.
- Use cutaways or Broll to hide jump cuts or add interest.
- Keep the pace moving. Too many talking sections in a row without visuals can get boring.
What Are Cutaways or Broll?
Broll is the extra footage, like shots of scenery, objects, or people doing things that relate to what you’re saying. I usually slot these clips over audio when I want to smooth out edits or add energy. Even a little Broll or a short cutaway to something relevant can make your story clearer and keep viewers glued to the screen.
Step 4: Improve Audio Quality With Free Tools
Clear audio is super important. Even great visuals can get skipped if the sound is muffled or distracting. Most free editors let you detach audio, lower background noise, or add music tracks. If your software doesn’t offer detailed audio controls, Audacity is a free audio editor that can help clean things up.
- Reduce background noise using built-in effects or tools like Audacity
- Balance audio levels; make sure background music is lower than your voice
- Fade audio in and out for a polished finish
Where to Find Free Music and Sound Effects?
- YouTube Audio Library (safe for vlogs)
- Uppbeat.io (free tracks with credit)
- Freesound.org (tons of sound effects)
Adding music and sound effects can give a boost to your vlog atmosphere, just double check that you have the correct licenses so your content isn’t flagged or muted.
Step 5: Use Transitions and Effects Wisely
Slick transitions can be cool, but too many start to feel distracting. I usually stick to a simple crossfade or cut for most transitions. Most free editors come with a set of basic transitions and effects for movement, zooming, or text overlays.
- Use simple transitions to join clips together
- Add text overlays for title screens or to shine a light on important points
- Color correction tools can make your footage pop even if you shot it on your phone
Try experimenting with new effects occasionally, but stay consistent so your vlogs keep a recognizable style that viewers remember and enjoy.
Step 6: Export Your Vlog in High Quality
When you’re done editing, exporting your video in the right settings keeps it looking sharp. I always check that my export is set to at least 1080p (Full HD) and the file size is reasonable for uploading to YouTube or social media.
- Export in .mp4 for compatibility
- Use a bitrate around 812 Mbps for HD footage
- Preview the entire video before uploading to catch any little mistakes
Editing for Different Platforms
Consider the platform you’re posting to. Instagram and TikTok favor vertical videos, while YouTube is mainly landscape. Learning the differences and exporting in the right format will make your vlogs look better and reach more people. Many editors allow you to change aspect ratios with just a few clicks.
Common Questions & Troubleshooting
My footage looks laggy or pixelated. What can I do?
- Check your export settings; use at least 1080p
- Make sure your original footage resolution isn’t too low
- Try a different editor if the program keeps crashing
How do I keep my edits looking smooth?
- Zoom in on the timeline for precise cuts
- Watch your edits back a few times to catch awkward jumps
- Add Broll over rough spots
I’m having trouble syncing audio and video. Any advice?
Waveform views in most editors let you see audio peaks. Line up loud sounds or claps at the start to sync clips faster. Some editors also offer automatic sync tools if your clips have matching audio.
Taking It Up a Notch? Tips for Polished Vlogs
Test Your Workflow
- Edit a short practice vlog to learn your editor’s shortcuts
- Create a project template with your usual intro, outro, and favorite effects
Stay Consistent
- Pick a color scheme for your titles and overlays
- Use the same music and transition styles to build your channel’s vibe
Sharpen Your Editing Skills
- Watch YouTube tutorials for your chosen editing software
- Pay attention to other creators by breaking down what you like about their vlogs
Sticking with one or two free tools makes editing feel way more manageable. You’ll get faster, keep a consistent style, and make your vlogs look like you spent way more time (or money) than you actually did. Continuously practicing your craft and staying on the lookout for new editing techniques or trends can truly set your channel apart.
Your Action Plan:
- Pick a free editing tool that matches your vibe and skill level.
- Sort your footage to save time during editing.
- Start with a simple vlog edit. Focus on clean audio and good pacing.
Which editing tool are you excited to try for your next vlog? Let me know what worked best for you! Remember, taking your vlogs up a notch is completely possible with these free solutions; just keep practicing and don’t be afraid to try something new.